DECISION TREE IMPLEMENTATION USING PYTHON and MONGODB
- amalpappalilramesh
- Oct 28, 2021
- 7 min read
Updated: Nov 2, 2021

Introduction
In this article, you will learn to create a program to generate a decision tree for a sample data set using python and mongodb along with user authentication .
Overview
The following topics will be detailed in this article
· Decision Tree Algorithm for Sample Dataset
· Build a decision tree using python & mongoDB
· Features, Classes, Algorithms, Functions, Connectivity, and IO.
· Description of how to use/operate the program.
Decision Tree Algorithm
A Decision Tree is a supervised Machine learning algorithm that can be used for classification and regression use cases. The decision tree contains nodes and branches. A decision tree makes sequential, hierarchical decision about the outcome’s variable based on the predictor data to find solutions. The main goal is to makes the optimal choice at the end of each node.
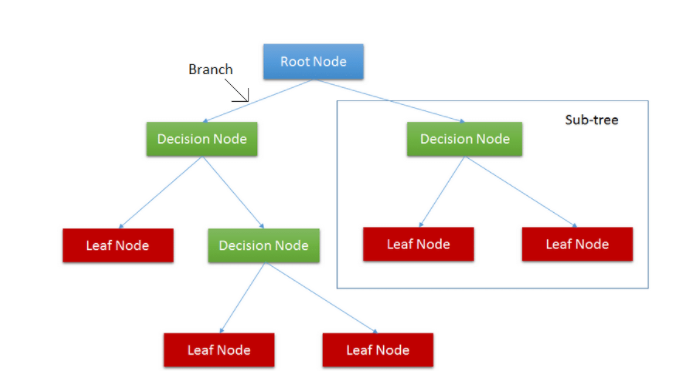
A typical decision tree will have the following components/Terms:
1. Nodes: point where the tree splits according to the value of some attribute/feature of the dataset
2. Edges: directs the outcome of a split to the next node
3. Root: node where the first split takes place
4. Leaves: terminal nodes that predict the outcome of the decision tree
5. Splitting :process of splitting or dividing a node into two or more sub-nodes.
There are 3 methods to make a split in the decision tree.
Information Gain & Entropy
Gini index
Gain ratio
How does a Decision Tree Algorithm Work?
Decision trees uses various algorithms to decide to split a node into 2 or more sub-nodes. The purity of the node increases w.r.t to the target variable. The decision tree splits the nodes on all available variables and then selects the split which results in most homogeneous sub-nodes.
Algorithm begins with the original set as the root node.
On each iteration , it iterates through the very unused attribute of the set and calculates Entropy(H) and Information gain(IG) of this attribute.
Select the attribute which has the smallest Entropy or Largest Information gain.
Split the set by the selected attribute to produce a data subset
The algorithm goes on to each subset, considering only attributes never selected before.
Attribute Selection Measures
Attribute selection measure are the basic set of rules to choose the splitting criterion that helps in dividing the dataset in the best way. Information Gain, Gini Index and Gain Ratio are the most commonly used and popular selection measures.
Gini impurity :
Gini says, if we select two items from a population at random then they must be of the same class and the probability for this is 1 if the population is pure
Information Gain
A less impure node requires less information to describe it and, a more impure node requires more information. Information theory is a measure to define this degree of disorganization in a system known as Entropy.
How to build a decision tree using python and mongo dB
Now let us see the various concepts involved in a decision tree using a custom python program that generates the Decision tree for a particular data set of heart patients . I will be using mongoDb for storing and managing the data and spyder as the editor.
The high level steps involved would be
· Find and feed a dataset, containing a number of training data, with a set of features and a target
· Train the decision tree classification with the help of DecisionTreeClassifier () or method, and add the required criterion while building the decision tree model
· Use python program to visualize the decision tree model
Program to build Decision Tree
Now that we have seen details of the dataset and what a decision tree is : we can look for building the same for the heart attack dataset .
Decision Tree Algorithm for Sample Heart Dataset
Problem Statement: Use Machine Learning to predict the heart attacks in patient with various health parameters and Build a model using decision tree in Python and mongoDB.
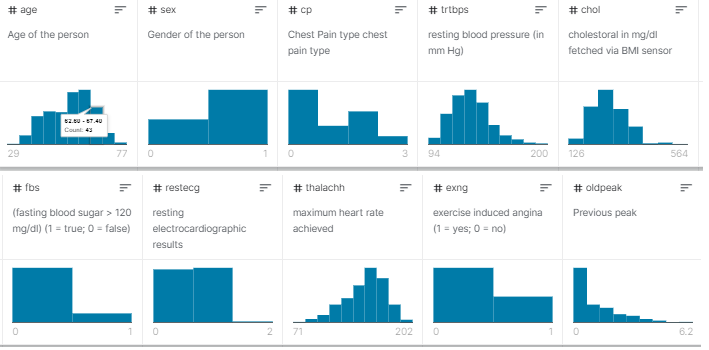
Data Set : Heart Disease Data set from Kaggle
A short summary of the data set

And here is the short details of each columns
Now that we have seen the algorithm explanation, let us see the design of the program , the various classes involved , Algorithms used and connectivity parameters in the program .The decision tree program have the following high level flow .

Class Diagram
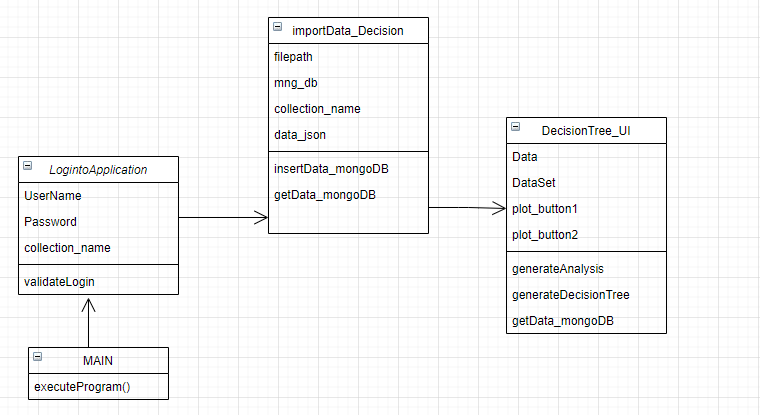
Classes -Explanation
1. class LogintoApplication - Used for validation the user
username and password are arguments
runs a query on the usercol created in Step 4 and validates the user
Allows to continue if user exist in Db and password is correct
Will not allow you to continue if password/username is wrong
2. class DecisionTree_UI
After successfull validation of user we initiate the Decision Tree class
Opens the GUI as follows to click on buttons for displaying graphs
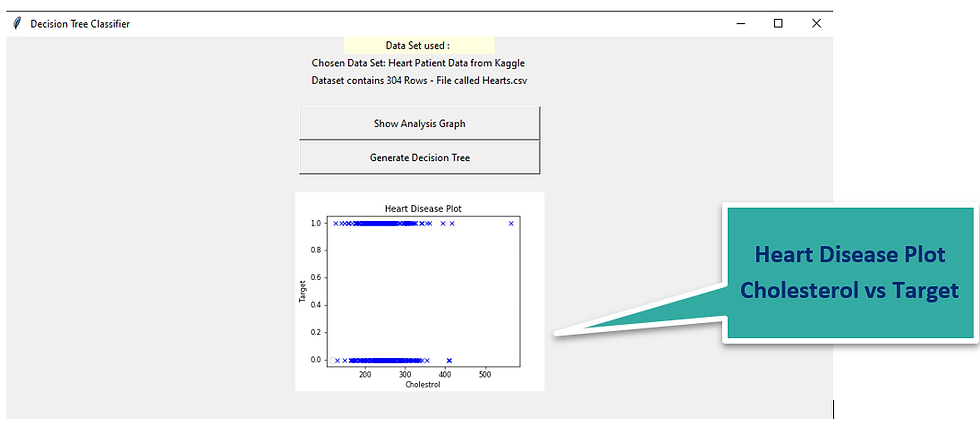
generateAnalysis() function - Displays chart for Heart data w.r.t Cholestrol vs Target
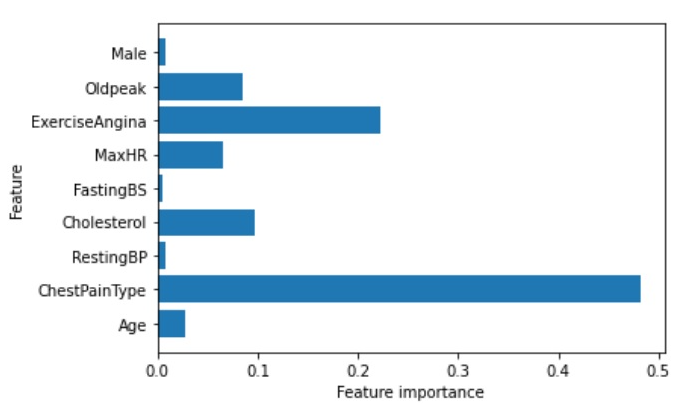
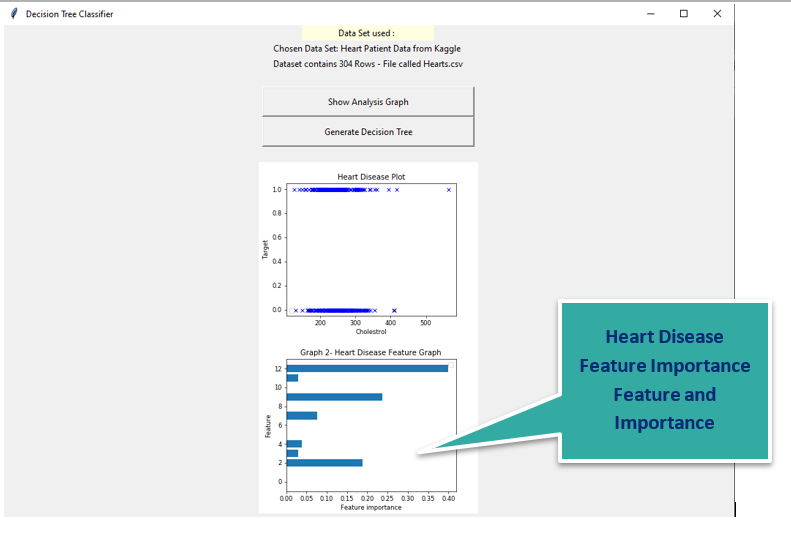
generateDecsiontree() function - Displays the chart for Feature importance vs Feature
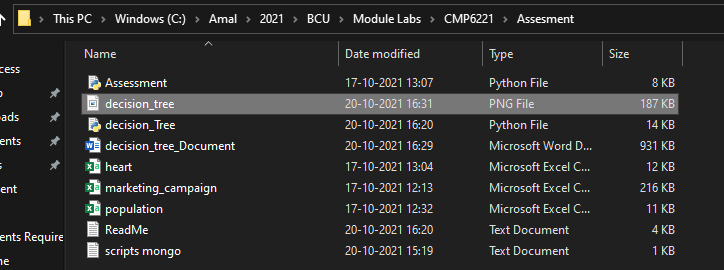
Finally a decision Tree image is saved into your local folder with a path on message box
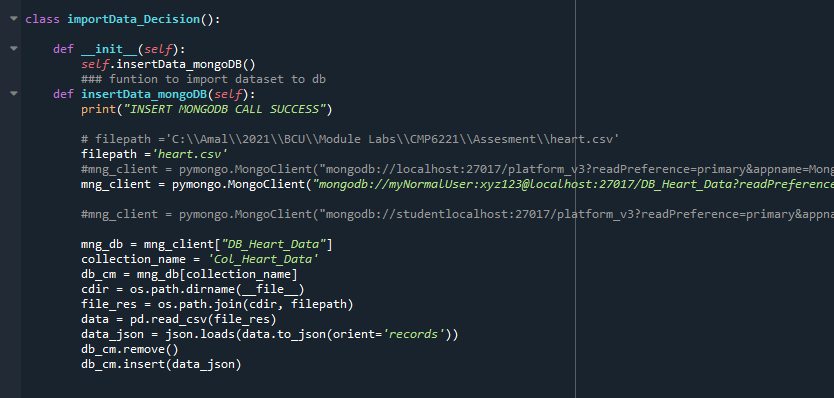
3. class importData_Decision():
Used for importing the dataset to mongoDB
Performs authentication of DB using username and password
insertData_mongoDB(self) - used for inserting data to DB
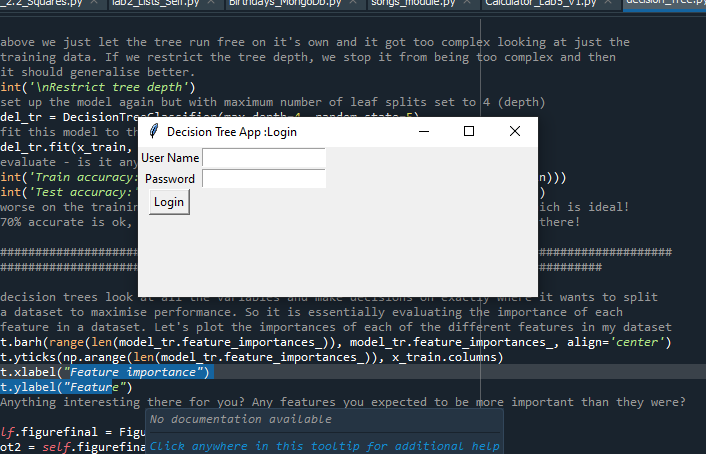
4. Initiate the class Login using the Tkinter window of username and password
I have created a simple login page using python Tkinter module
Involves a user name and password box
Login button --> calls the ValidateLogin Function
Program Flow in detail:
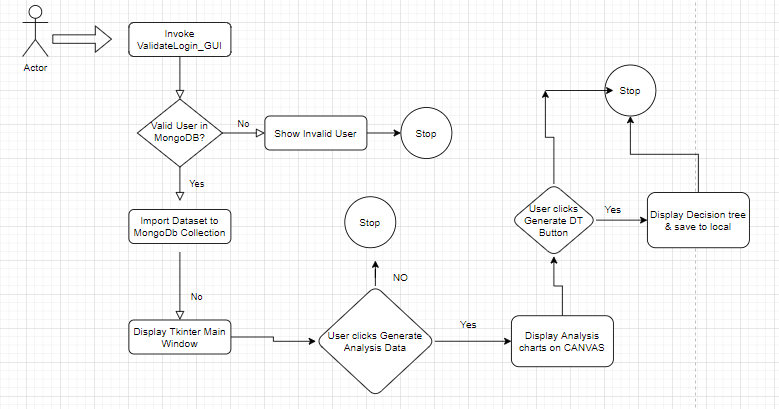
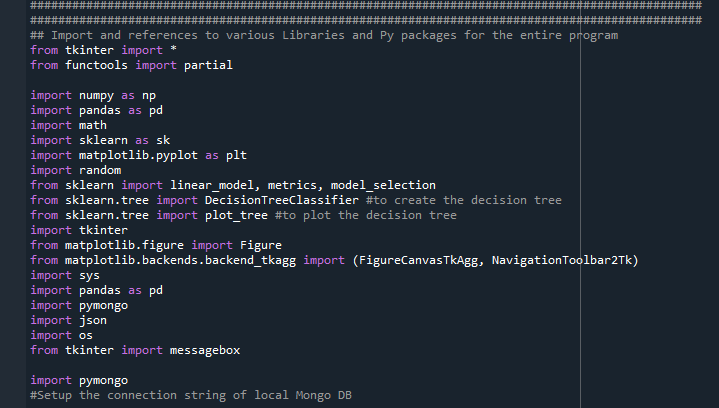
Step 0: Import the needed libraries and python packages
Step1 : Import the Data set to MongoDB . The function below can be used for inserting data to mongoDB .
First please download the mongodb free version from here: https://www.mongodb.com/try/download/community
Follow the steps mentioned in the MongoDb configurations file before proceeding :
Step2 : Create a User Login Screen using Tkinter
The following code creates a simple user login window to enable users to type in username and password

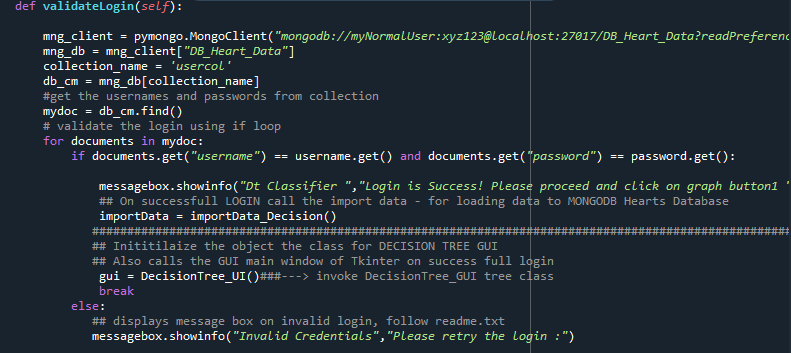
This user authentication is performed on MongoDb UserCol table . The program allows yopu to proceed only if you are a valid user . The following function code is used
Step3 : Import the Data from CSV to MongoDB
After successful user auth , we can import the dataset to MongoDB collection
Once the data is imported to MongoDB , we must retrieve the data set .
Please note that we are using the pyMongo .MongoClient method to connect to the DB with user name and password specified as per the steps in configuration document
You can see the MongoDB data collection in Compass

Step4: Retrieve the same using the custom function getData_mongoDB()

Now the data variables will have the enitre data set as data frames .Let us use the same to build our decision tree
Generate a chart for displaying relationship between the parameters chol(cholestrol) and target field .(Heart Disese)

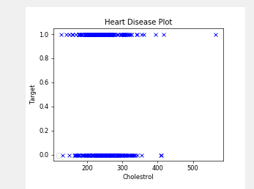
We are using the python matplotlib to perform visualization of the charts here .
We will have cholesterol on x axis and target field on y axis
The output will be as shown --> :
we can use the following code to print on GUI of application
canvas = FigureCanvasTkAgg(self.figurefinal, self.mw)
canvas.get_tk_widget().pack()
canvas.draw()
Here i am also displaying a second chart which displays about the feature importance based on the dataset
Step 5 : Splitting the Data set to Training and Testing set
Now we will split the dataset using the python code . We are planning to split as follows:
Training Data - 70%
Testing Data - 30%

Step 6: Feature Selection :
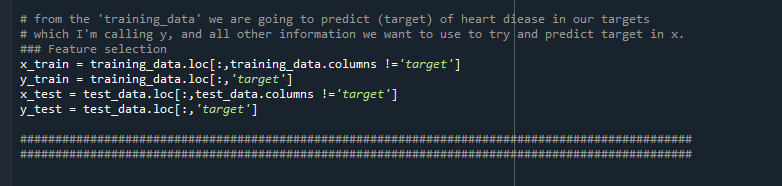
From the 'training_data' we are going to predict (target) of heart diease in our targets
which I'm calling y, and all other information we want to use to try and predict target in x. This step is termed as Feature Selection and we are going to choose the target column for prediction
Step 7: Build the Decision Tree MODEL
Once the feature selection step is done we need to use the training data and create a model . For this step I am going to BUILD the DECISION TREE MODEL using SCKITLEARN
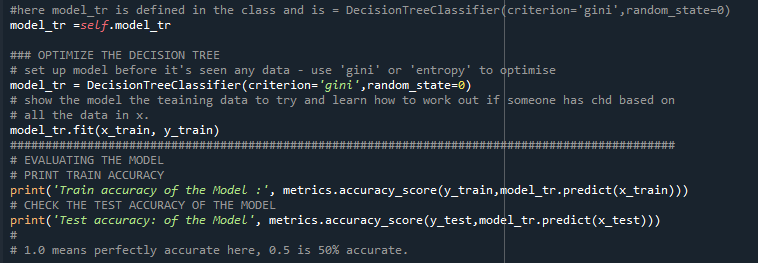
we are using the DecisionTree Classifier Method to setup the model as shown above . Then we pass on the x_train,y_train parameters to fit the model_tr. The model is ready now .
Please note in the above code we are also optimizing the decision the tree .
Step 8 : Evaluating the MODEL
Once the model is created , we need to evaluate the model . we can do this by printing the train accuracy and test accuracy of the model .

If the printed accuracy is 1.0 it means it is fully accurate , while 0.5 means 50% accurate.
STEP 9 : Restrict the depth of the Tree
If we restrict the tree depth, we stop it from being too complex and then it should generalise better. So for that, we set up the model again but with maximum number of leaf splits set to 4 (depth) . Then we fit the model again to training data and evaluate the model again by printing the accuracy
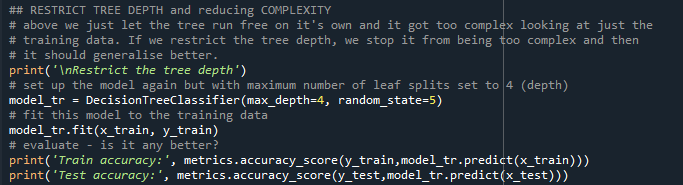
This time we get a 60% accuracy - which is fairly good!
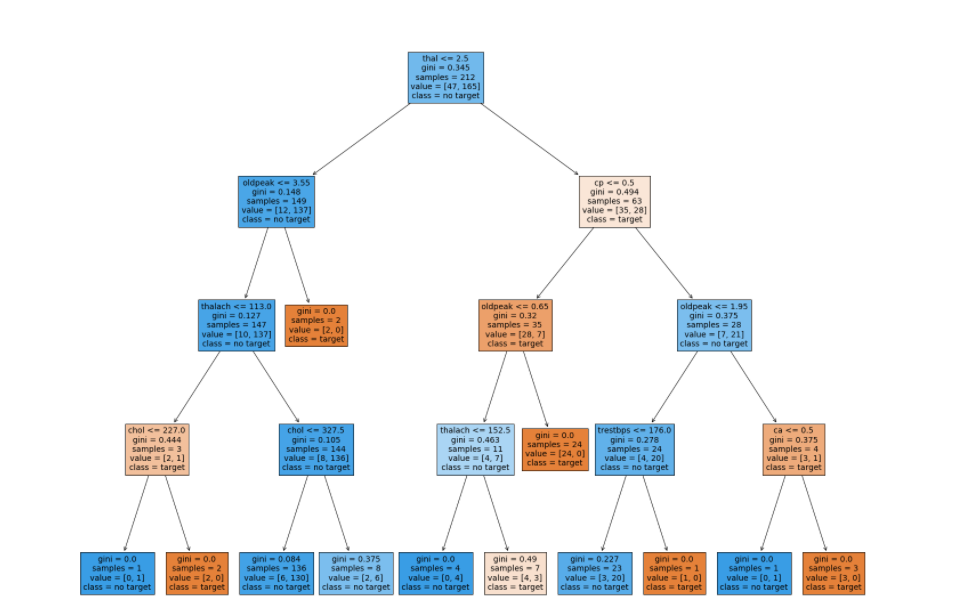
STEP 10 : Plot the DECISION TREE
We are now ready to plot the tree. It can be di=one using the following lines of code in python . What i am doing here is printing the tree and saving it to a local PNG file

Finally a message box is displayed which shows he details of the saved image tree.
NOTE: I am using TKINTER windows in my application - Details in next section .
Final output is shown below ( of the decisiontree .png file)
HOW TO USE THE PROGRAM : USER MANUAL
The Decision tree application is build on TKinter Ui module with python . As soon as the user runs the program on the Spyder , the Login Screen appears as follows :
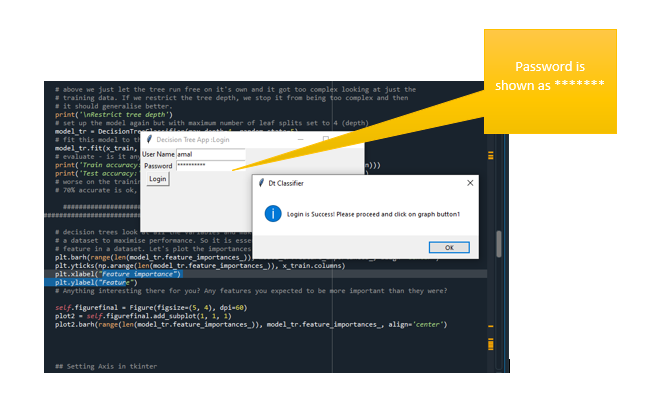
Screen 1 : User Login:
User Login screen Description :
1. Username : Input text field
2. Password : input text field with masked values
3. Login Button
Functionality :
1. Allows user to enter username and password
2. Validates the user login with authentication with USerCol table in MongoDb
3. On successful login user is allowed to next screen – Main Screen
Screen 2 : Decision Tree Main Window
Once the login is success : the main application window is displayed to the user
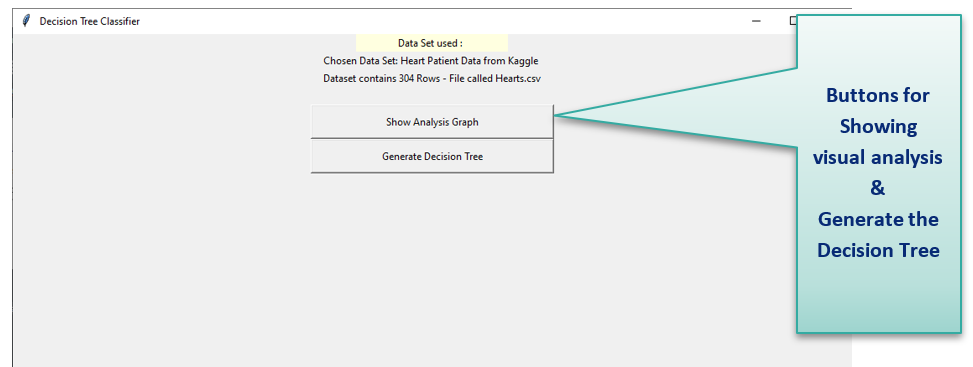
The window shows the following:
1. Dataset used : Name of dataset
2. No of Rows in dataset
3. Filename
4. Show Analysis Graph Button - on click displays visualization 1 of Cholesterol vs target
5. Generate Decision tree – On Click displays the feature importance graph 2 and downloads the decision tree to local path
Screen3 – Main window with Visualization of cholesterol vs target
The user can click on the Show Analysis Graph button and it displays the visualization as shown in the following image
Screen 4 : Main window with second visualization of feature importance vs target
The window also displays a second graph which specifies the importance of feature vs the target as shown below:
Screen 5 :Generate Decision tree : DECISION TREE DOWNLOAD
Upon clicking on the Generate Decision Tree - the Optimized decision tree is downloaded and the path is shown to the user
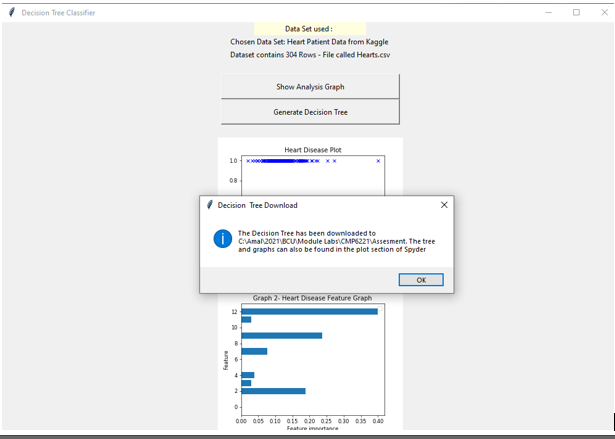
Finally a pop up is shown which explains a successful download of Decision tree and and also specifies the path where tree is downloaded
The decision tree gets downloaded and will look like the following:
Video Explanation:


Very neat and clean explanation and narration Thanks and keep going